
Garage Workshop Makeover
If you're anything like me, the idea of a workshop that combines both function and style is a dream. Well, after months of planning, I've finally transformed my two-car garage into the ultimate DIY workshop, and let me tell you, it's been a game-changer. Whether you're into woodworking, DIY projects, or filming YouTube tutorials, this makeover has it all: new ceiling, insulation, electrics, a slick PVC floor, and of course, a few new tools to help bring my dream to life.
Let me walk you through the process!
1. Starting with a Plan: Designing My Dream Workshop
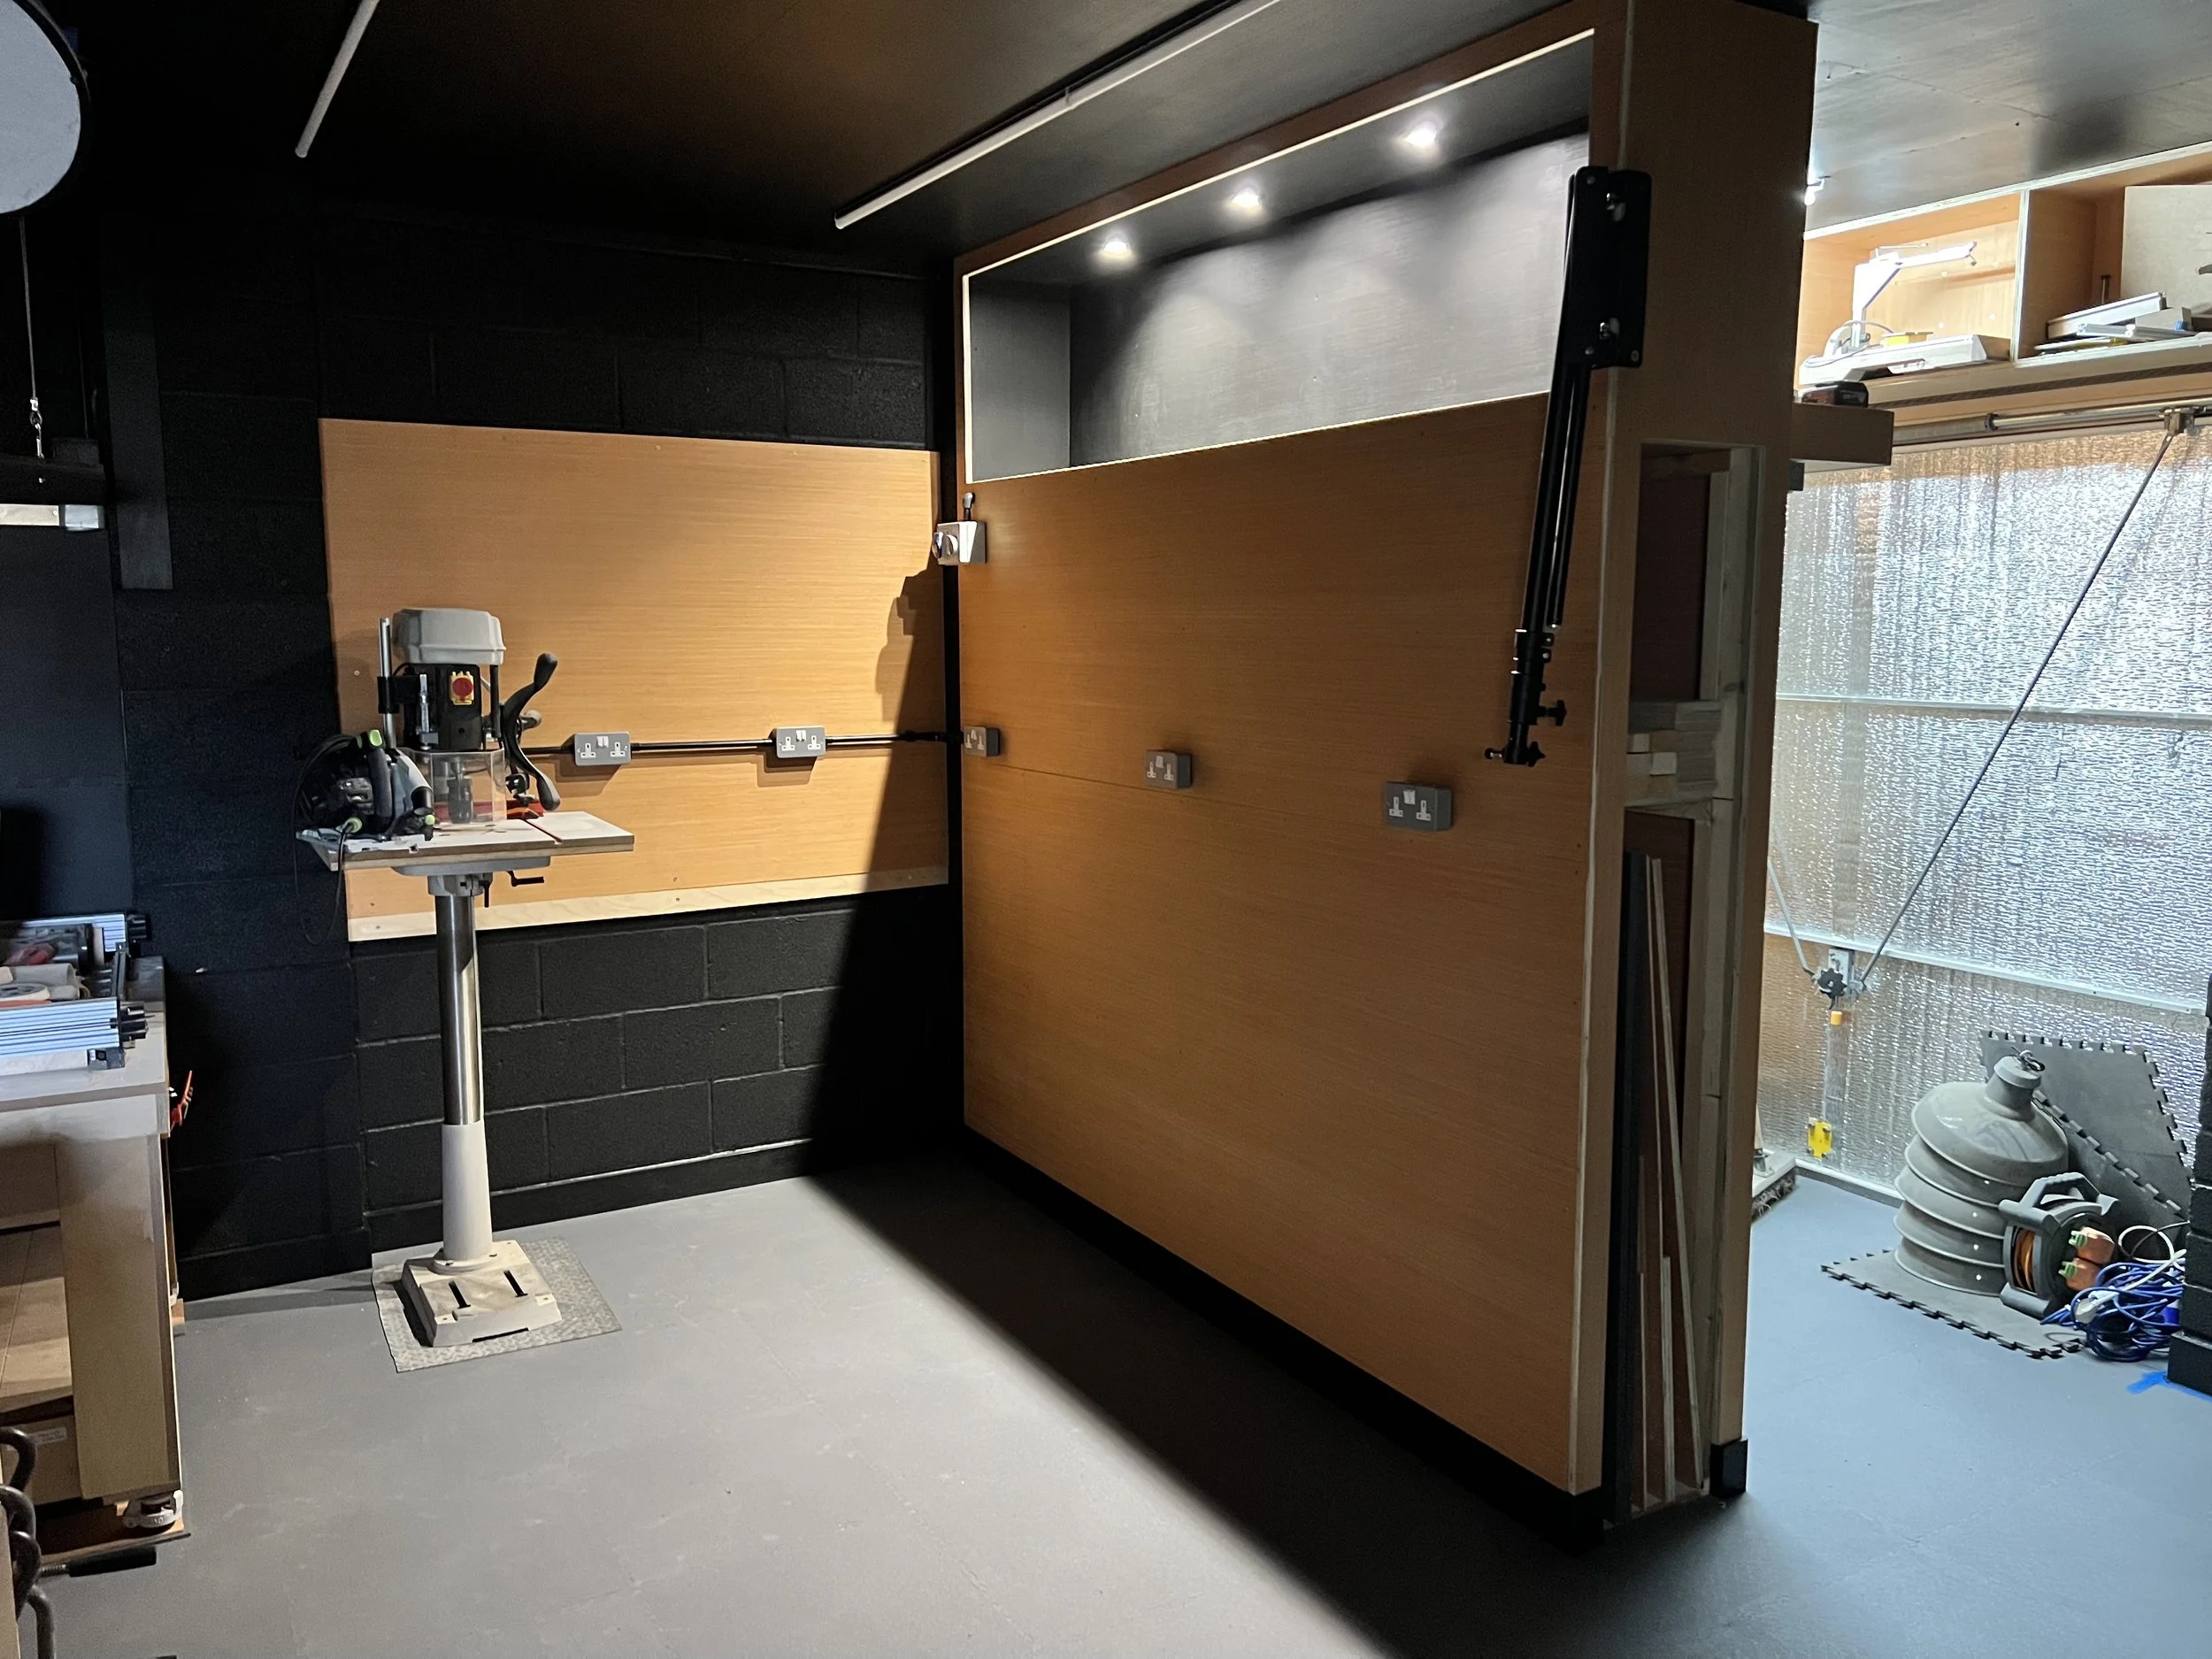
The first thing I did was sit down and map out exactly how I wanted to use my space. I needed somewhere I could work comfortably for long hours and also film high-quality YouTube videos. I knew the layout had to be practical but also visually appealing, especially since I wanted the space to look good on camera. I decided to go with a black-painted theme for the walls—an industrial, sleek vibe that would make my tools pop on camera, I wanted somewhere to store large sheets of plywood that wouldnt take up valuable wall space in a small workshop.
2. Installing Insulation: The Key to Comfort
Anyone who’s worked in a cold, damp garage knows how uncomfortable it can be, especially in the UK with its unpredictable weather. So, the first major upgrade was insulation. I opted for 200mm Knauf insulation in the ceiling, as it was both cost-effective and efficient. The insulation has made such a difference in keeping the space warm(er) during the winter months.
This was also a great opportunity to think about noise reduction—something I hadn’t really considered before. The insulation helps to muffle the sound of my power tools, which is a win for my neighbours.


Knauf loft insulation will make your arms and eyes itch, so wear some longs sleeves and goggles. You can get a dedicated knife for cutting insulation like this, it was a god send, and cheap too.
3. Upgrading the Ceiling: Adding a Fresh Look
Once the insulation was suspended, I moved on to the ceiling. I decided to install 6mm exterior grade plywood painted black for a clean and modern look. This not only makes the garage feel more like a proper room but also gave me the chance to add some LED strip lighting for the perfect working environment. Lighting is key, and I wanted something that would highlight my workbench and tools without casting any harsh shadows on camera.
4. PVC Floor Tiles: Durable and Stylish
Next up, the floor! After years of dealing with cracked concrete and the occasional paint/glues/oil stains, I knew it was time for an upgrade. I went with PVC floor tiles, and honestly, I couldn't be happier. These tiles are not only super easy to install (I did it myself in just a day), but they also give the workshop a professional look. They're slip-resistant, durable, and make cleaning up so much easier.

These are actually interlocking floor tiles - video on this over on my channel - here.
5. Electrical Upgrades: Powering My New Tools
Now, let's talk electrics. I had to upgrade my consumer unit (fuse box). My old setup just wasn’t going to cut it previously everything had run off a single 13amp fused spur from the house. I installed new circuits to ensure I had enough power for my table saw, bandsaw, dust extraction and any other heavy-duty equipment I might use.
I also added extra outlets along the walls, so I could easily plug in power tools without needing extension leads running everywhere. The new setup is so much safer, and I have peace of mind knowing that I can use multiple tools at once without worrying about tripping the circuit.

My first ever consumer unit. Youtube was my friend. I watched videos on how to organise a consumer unit with tips on how to straighten wires etc. Having a labeller allowed me to stay on top of each cable coming in to the box.
All that said I would recommend you have an electrician connect everything up, don’t do what I did.
6. Decluttering and Upgrading Tools
One of the most satisfying parts of this whole process was getting rid of a few of my old, rusty tools and replacing them with high-quality gear. For anyone who’s into woodworking, a table saw and bandsaw are absolute essentials, so I decided to invest in both.
I also took the time to organise my space better—new tool storage, ceiling-mounted shelving for more storage, a tidy workshop makes a huge difference when you’re trying to get things done efficiently.
7. The Final Touch: Lighting and Paint
Now for the fun part: giving the space some serious style. I painted the walls black (yes, I know it’s bold, but it really makes the tools stand out) and added a few decorative touches to make it feel like my own personal creative studio. I also installed additional strip lighting to make sure everything looks great on camera when I’m filming. The lighting makes the workshop feel brighter and more welcoming.
When I'm working late into the evening or filming a project for my YouTube channel, the space feels inspiring.


Conclusion: A Workshop That Works for Me
All in all, this garage transformation has been an absolute game-changer. The new insulation, electrics, tools, and flooring have made my workshop far more functional, comfortable, and organised. The addition of fresh paint and new lighting has not only enhanced the space for filming but also made it somewhere I actually enjoy spending time.
Whether you're looking to revamp your own garage into a creative haven, or you just need a practical, no-frills workshop to get things done, this makeover was worth every ounce of effort. Now, I’ve got a space that’s as useful as it is stylish, and it’s the perfect place to bring my DIY projects—and YouTube videos—to life.
If you're considering a garage workshop makeover yourself, I highly recommend taking the time to plan, invest in good tools.

Well its done
Still a list as long as my arm, dust extraction and a mitre saw station is high up on this list.